Before and after!
EDITING. It’s the make-or-break for a lot of photographers out there. Editing varies wildly from person to person - some photographers barely touch their photos in post-production and deliver galleries same-day, and others absolutely go to town in Lightroom or Photoshop as part of their final product.
Neither is wrong at all, it’s all down to personal preference, and often what sub-section of photography you do. Myself, I keep it fairly minimal as a whole thanks to my photojournalism/documentary background, but I definitely have some situations (low light, uneven light, posing in shadows) that do need more post than others.
I thought I’d share a handful of my work from the past, comparing straight out of camera to the final edit that was delivered, and why!
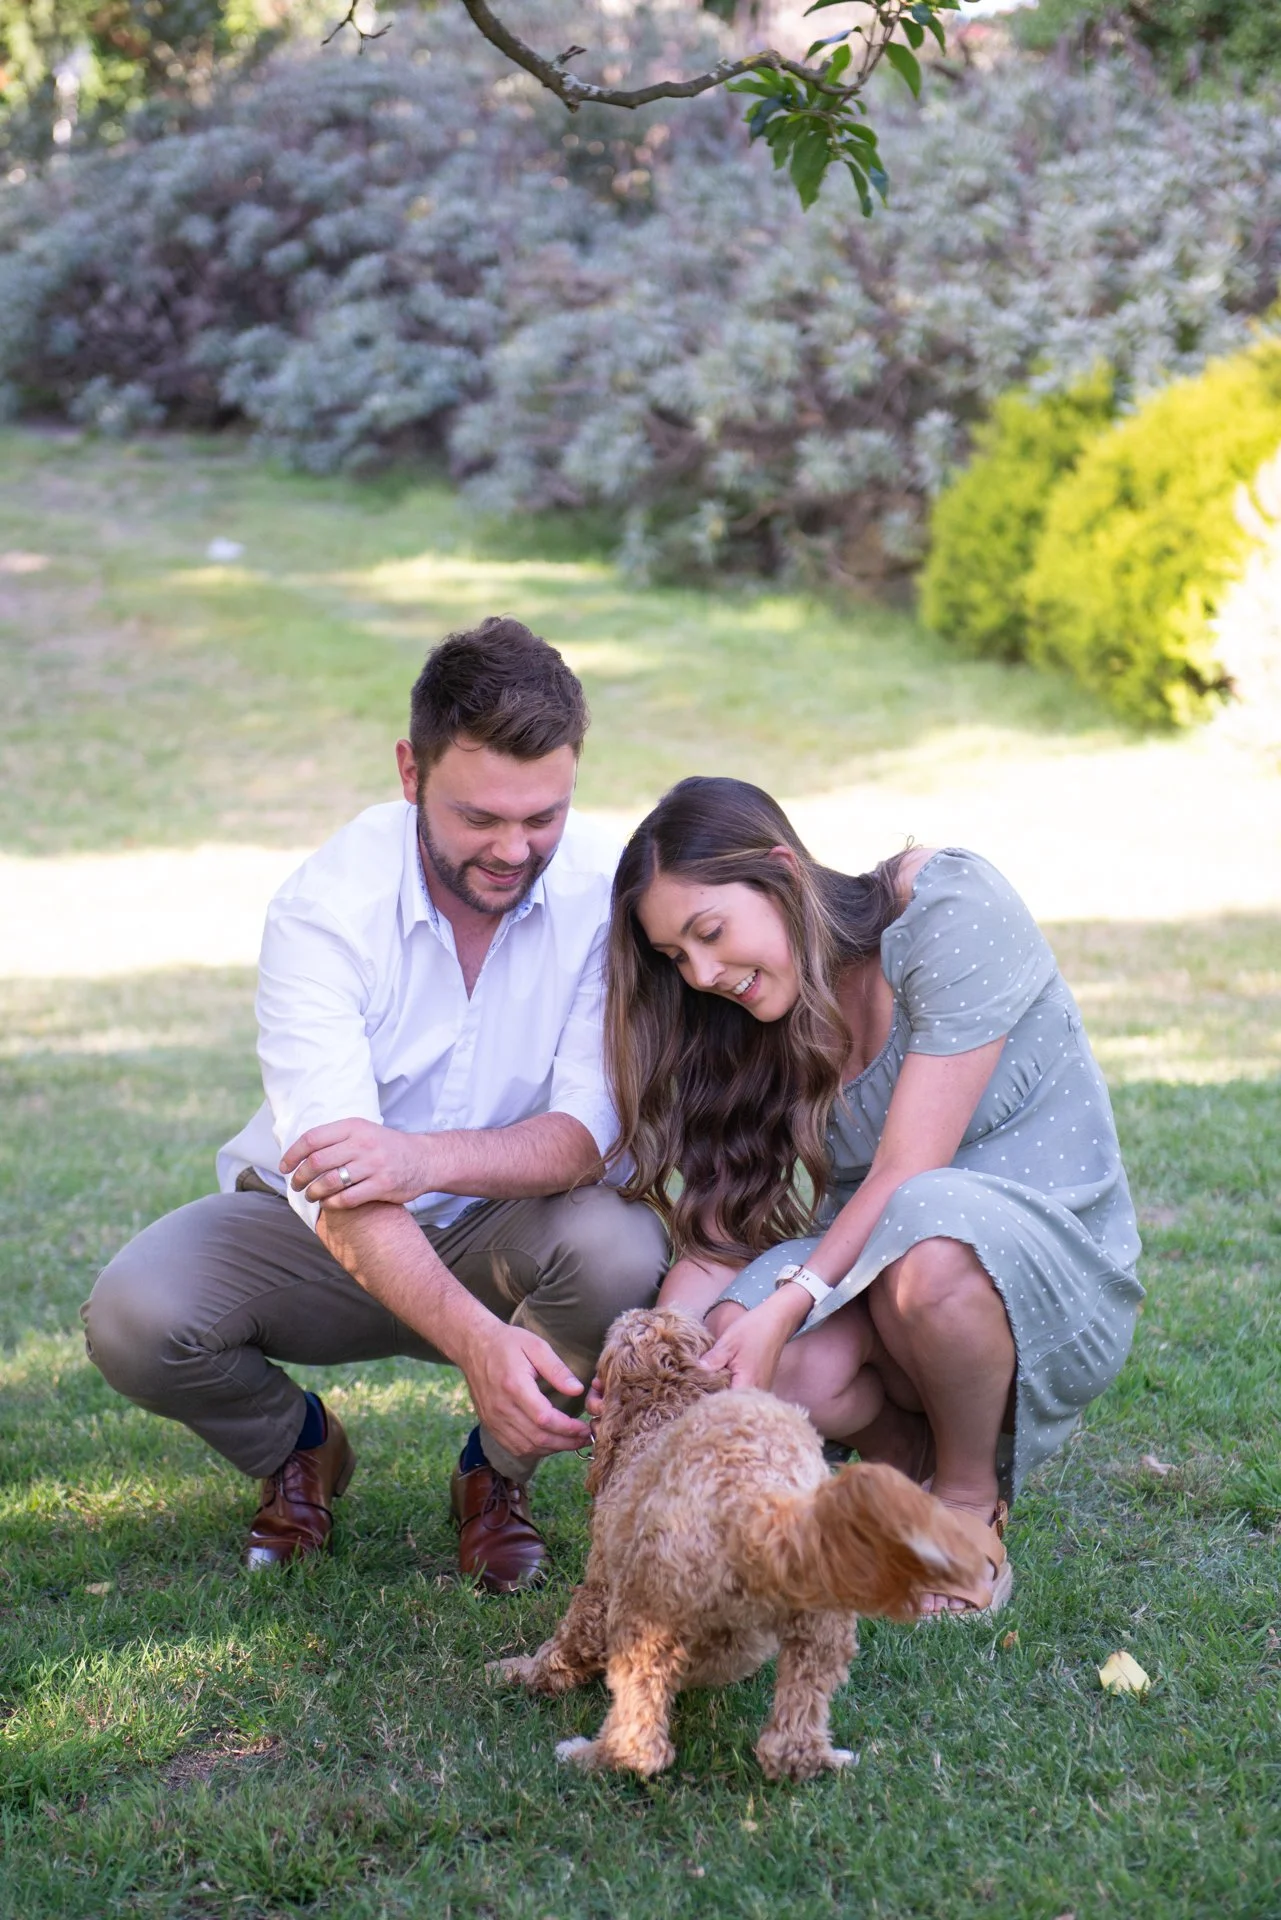
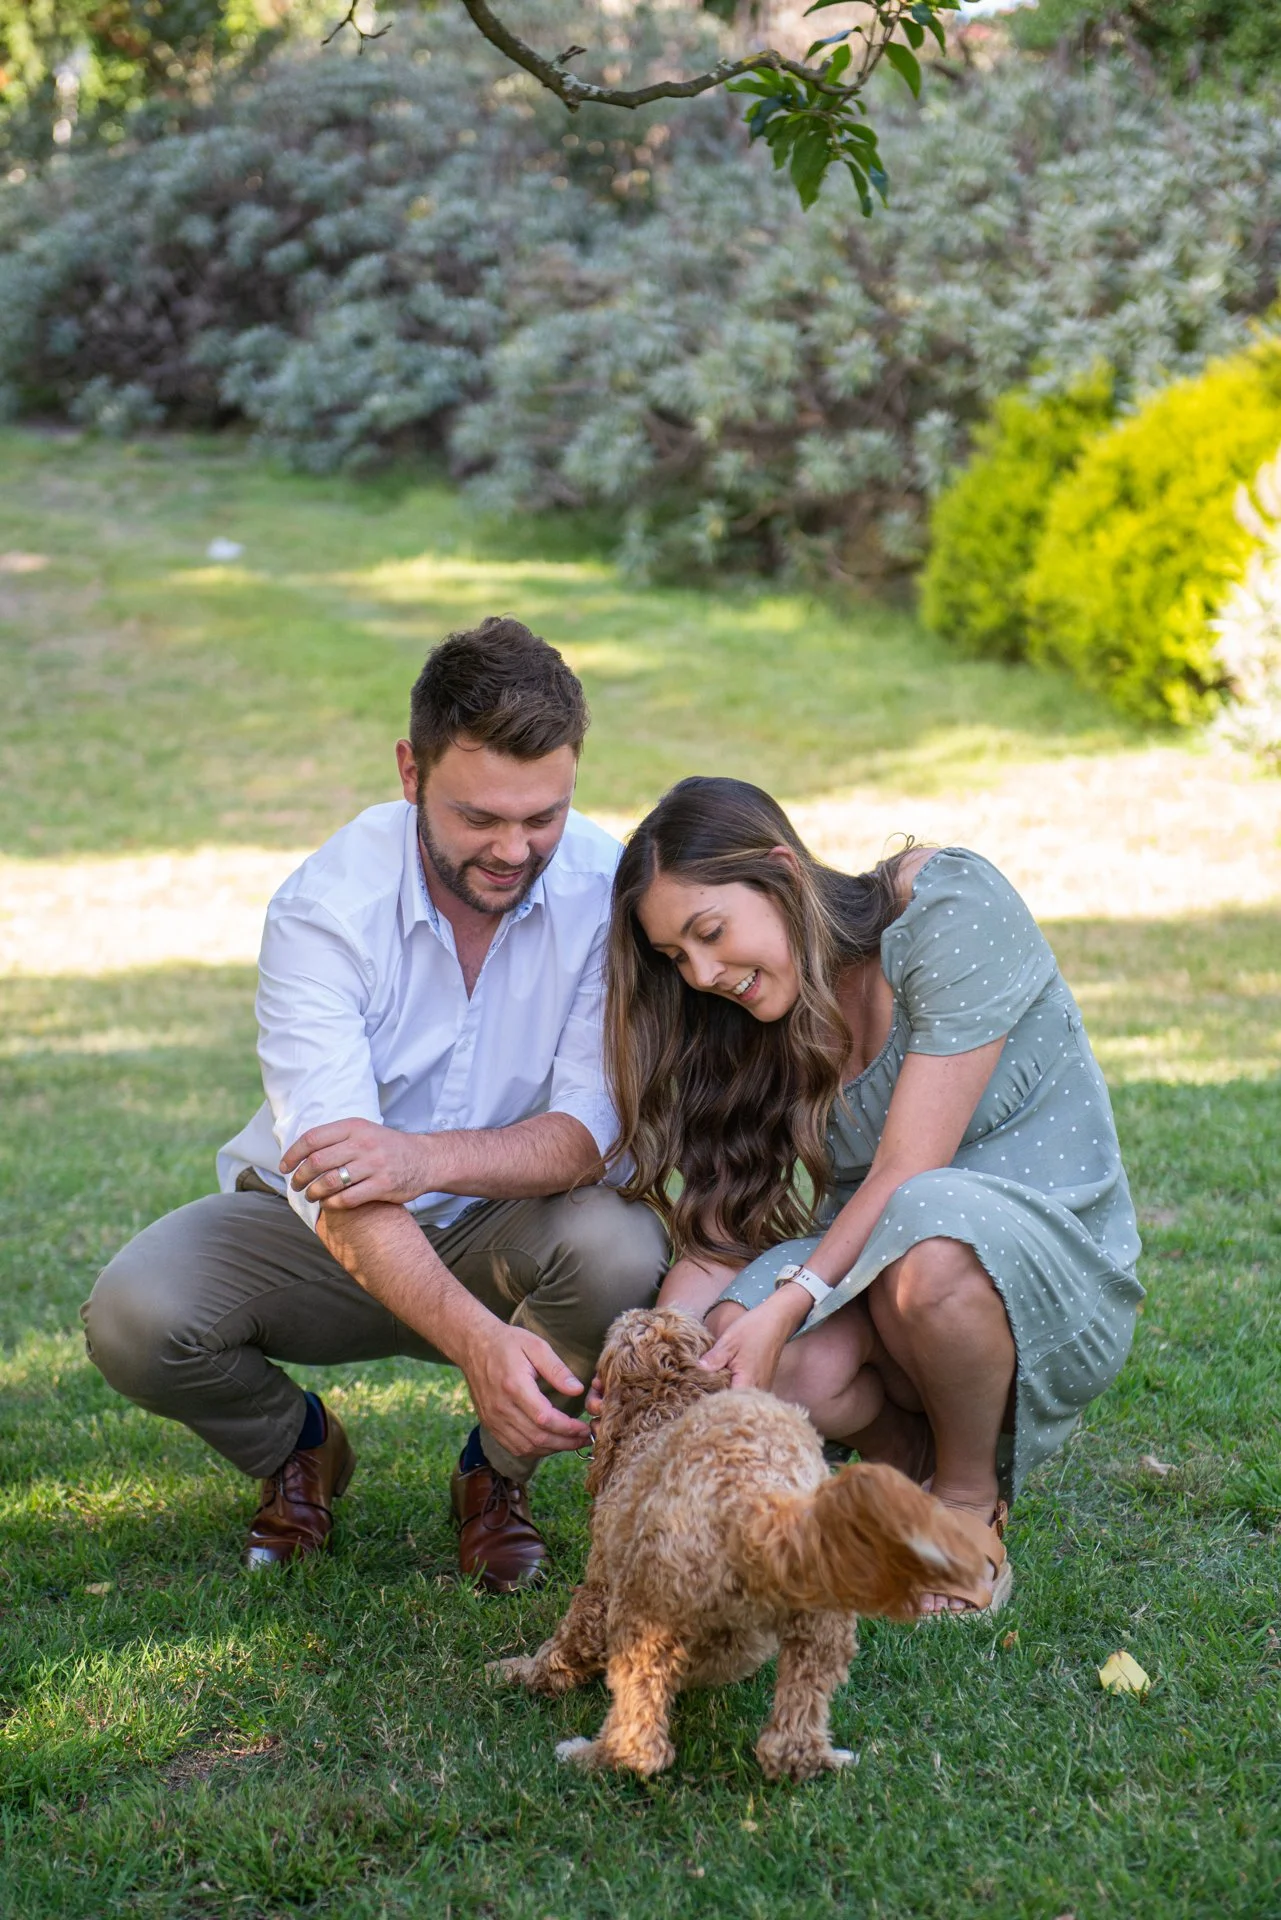
Starting with this lovely family session - this was shot in golden hour, which is roughly the hour before the sun sets (or the hour after the sun rises!). The light is softer, warmer, and the shadows long. It is most photographers preferred time to work!
This image was in the shade, and the white balance on Auto, and it came out a bit too pinky-blue for my liking, so most of the post-production here was nudging the white balance much further out of blue and into yellow, and a bit away from pinks into greens. This warms up their skin tones and makes them look less pink! I do this with 95% of my work, but this image needed it more than most due to that Auto white balance setting.
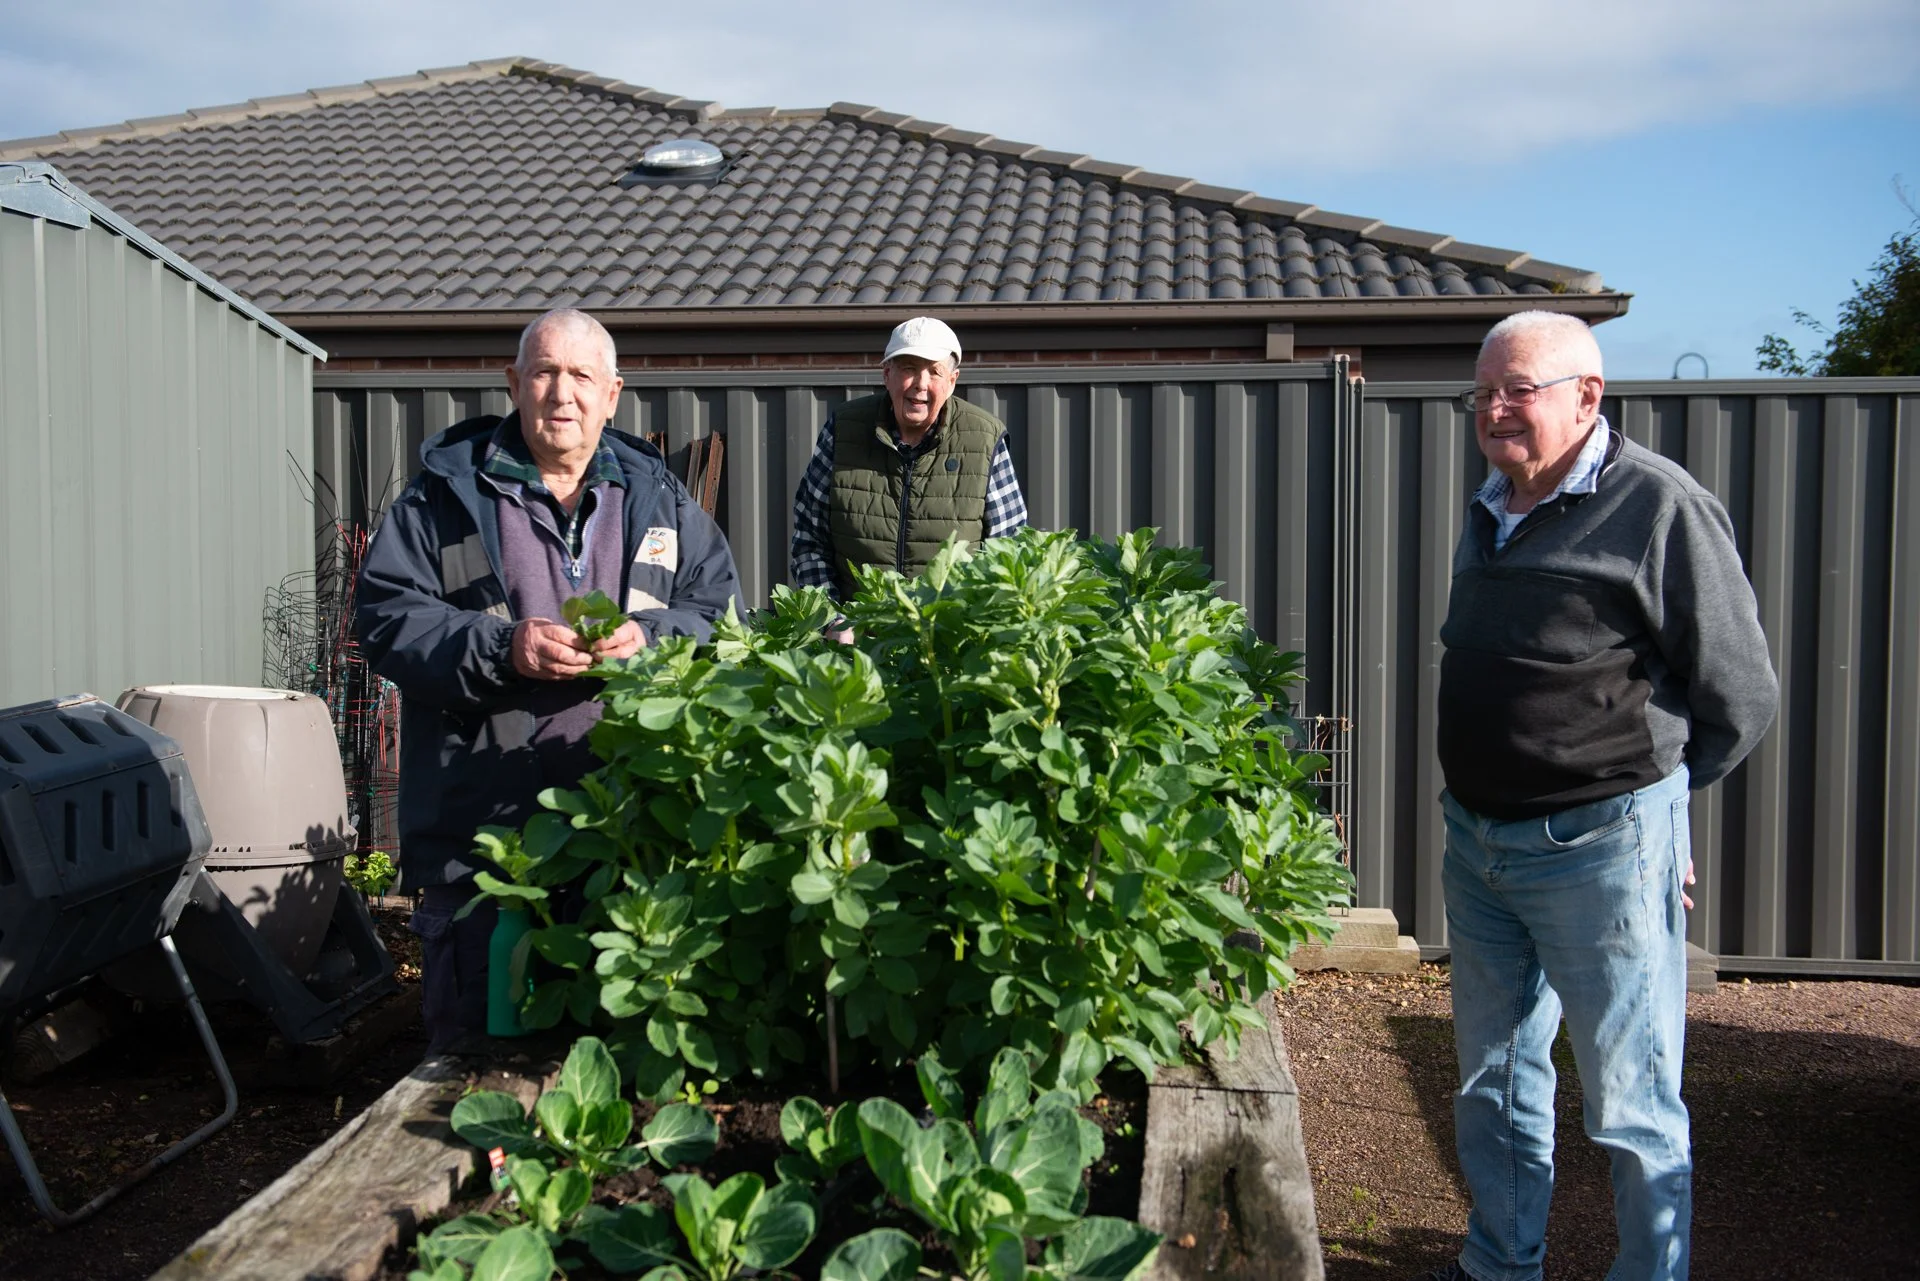

This shot above is an example of a less-than-ideal lighting setting - hard, late-morning sun coming in from the side of my subjects (ideally if you’re in hard sun, you put it behind your subjects for backlight, but this isn’t always possible).
The goal for the edit on this was to minimise the gap between the darkness of the shadows and the highlight of the sun on the right of their faces - lightening those shadows and pulling back the highlights to make it more even, which you can also see in the bean plant, much more even!
I also added more warmth overall, and pulling up those shadows brought back some detail in the garden items on the left - detail is important in environmental portraits!
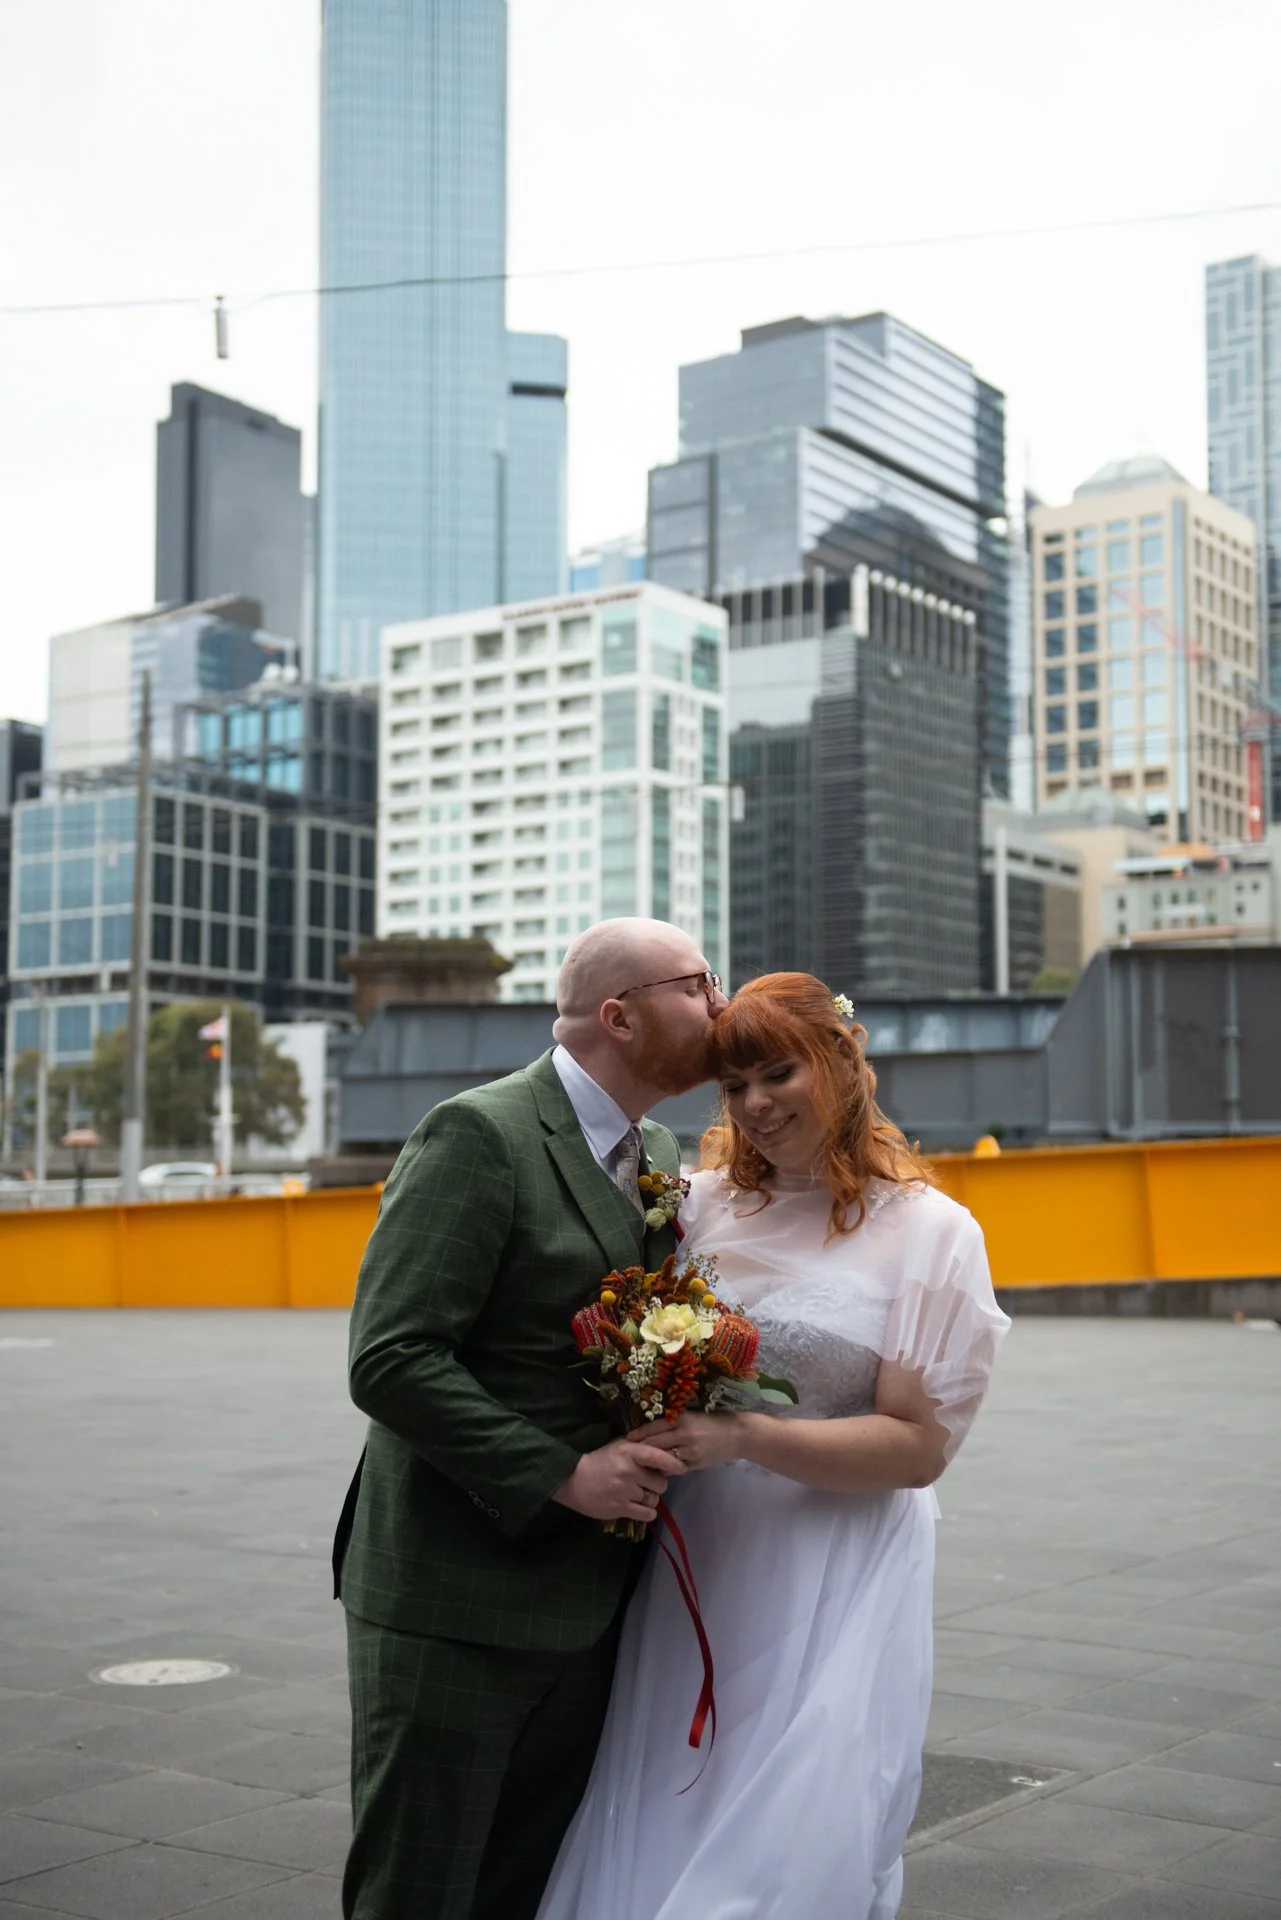
This one from my own sister’s wedding was especially important to edit as perfectly as I could. I wanted to brighten these images as much as possible, especially the couple in the foreground, so I focused on lifting on the shadows on the green suit to bring back that detail.
I also added warmth overall, but did want to keep the colours very true, especially in the background.
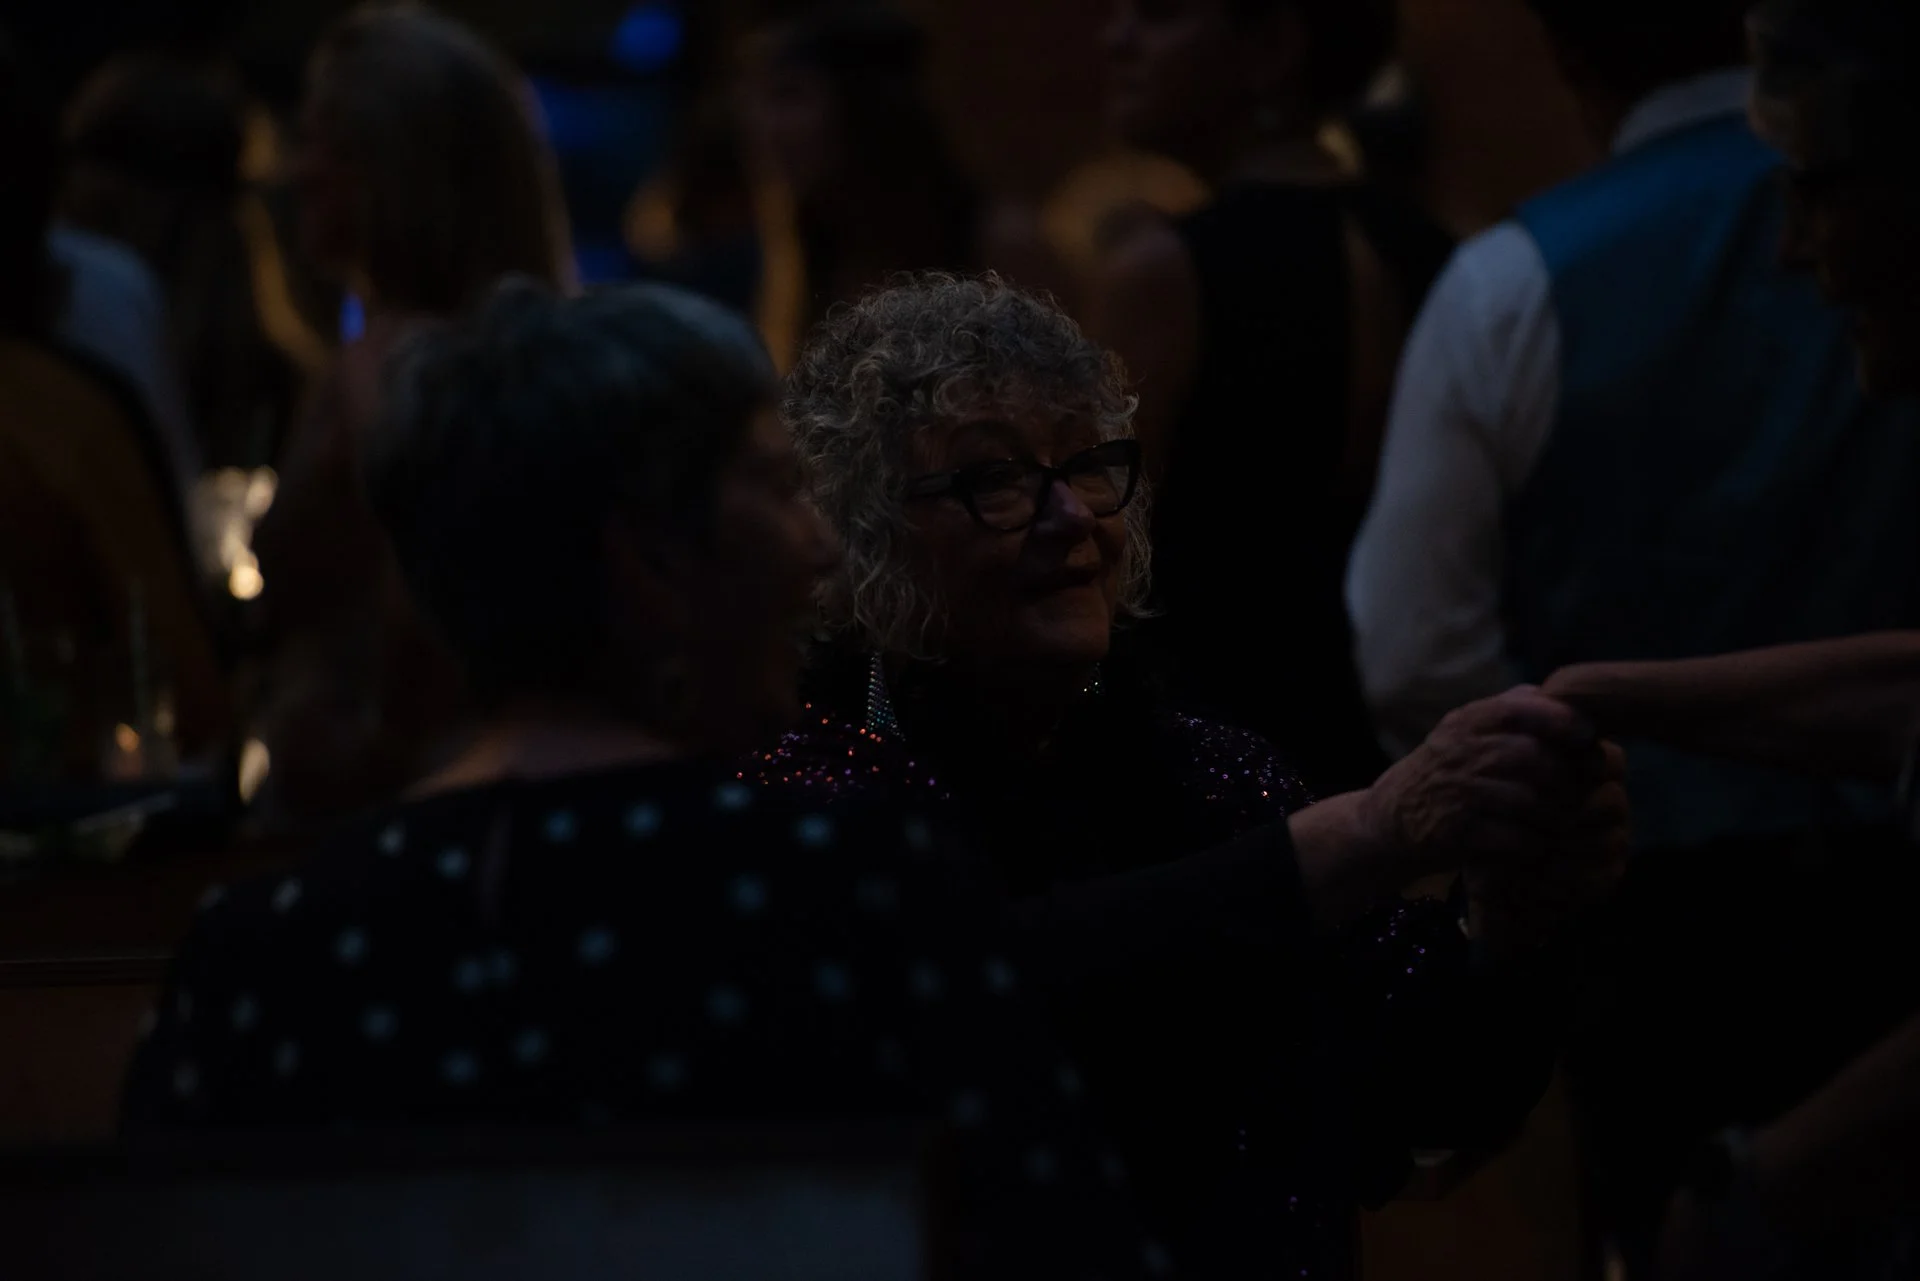
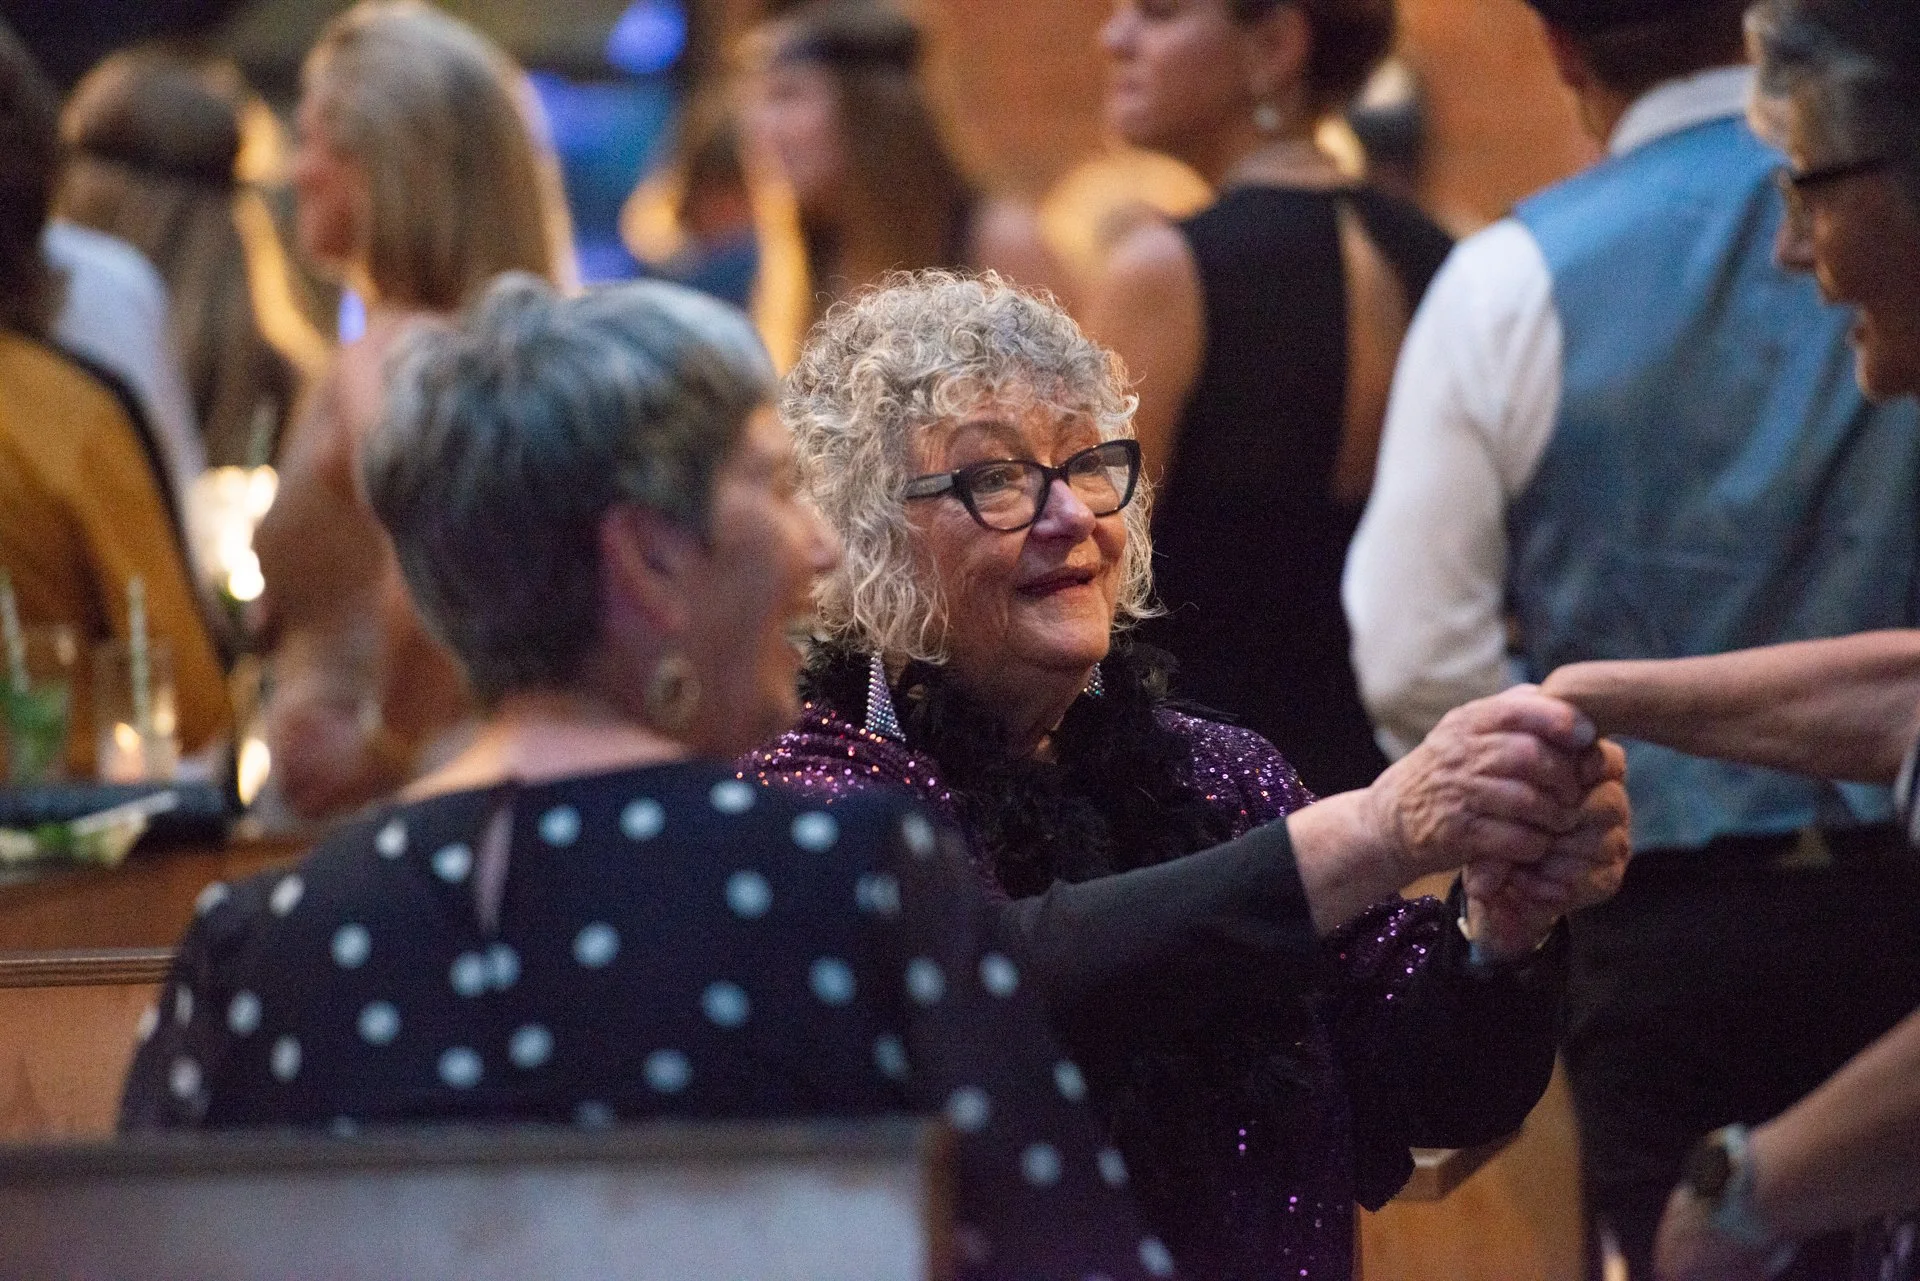
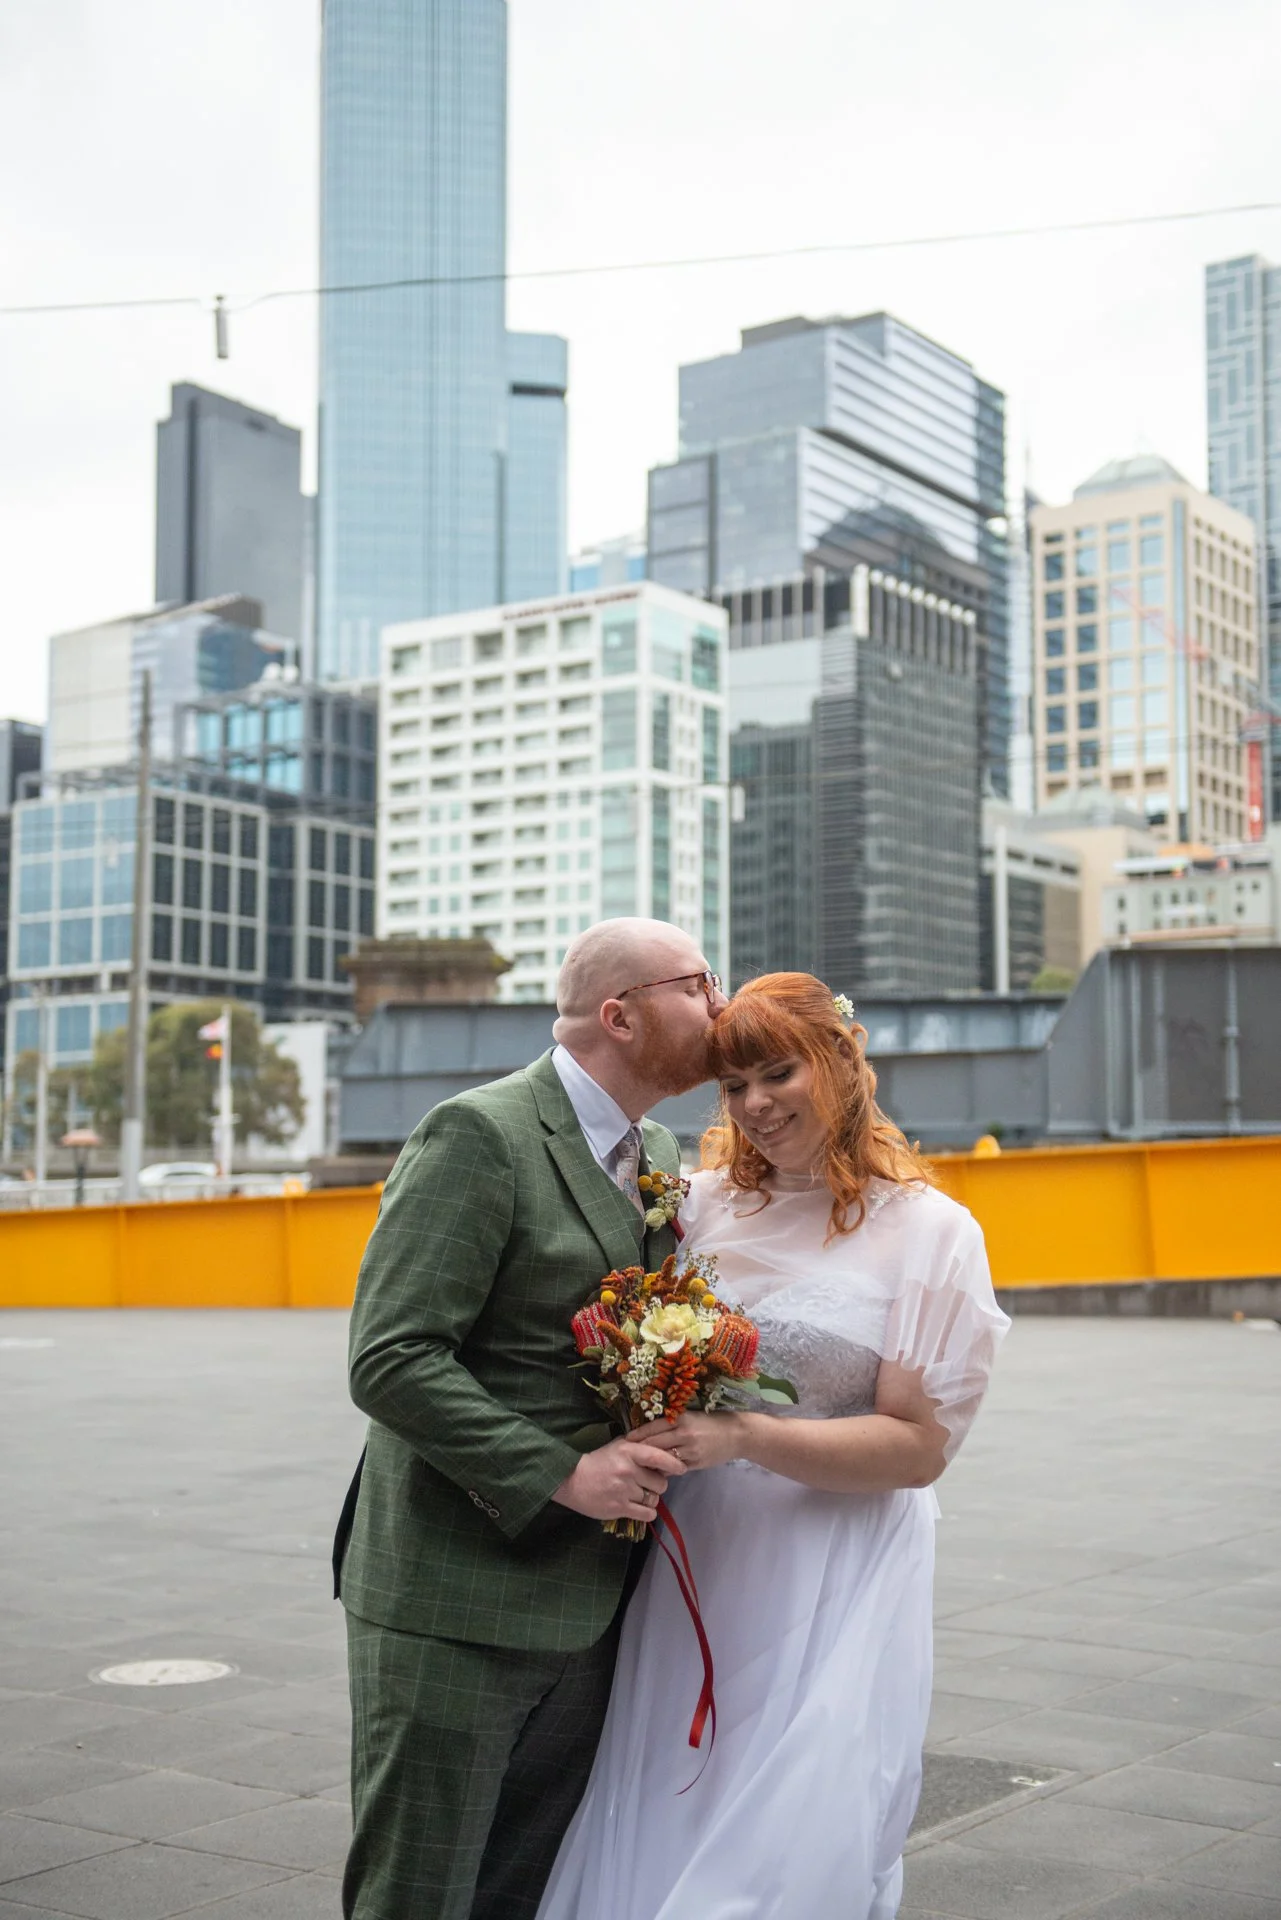
Okay now let’s talk about this JUMPSCARE of an edit and why it exists. I photograph a lot of events, and I carry 2 cameras for events - D800 bodies, one with a 24-70mm f2.8 lens on it with a flash, and one with a 70-200mm f2.8 lens on it that has no speedlight. The wide/standard lens with the flash is perfect for group shots and speeches (common at events), and the 70-200 zoom lens I use for my signature candid shots.
But these events are often very low-lit spaces, and I purposely don’t have a flash on for candids - it gives me away pretty quick if I’m trying to be sneaky, and the flash is less effective for zoomed photos as it has to travel further!
So I shoot at the widest aperture possible (f2.8), and bump the ISO. But instead of hammering the ISO too high so the photos are unusable, or having such a slow shutter speed that the photos are blurry, I purposely often shoot many candids under-exposed like this. Photographing in RAW files (instead of JPEG) means I can easily bring up the exposure 2-3 stops in post-production without ruining my file.
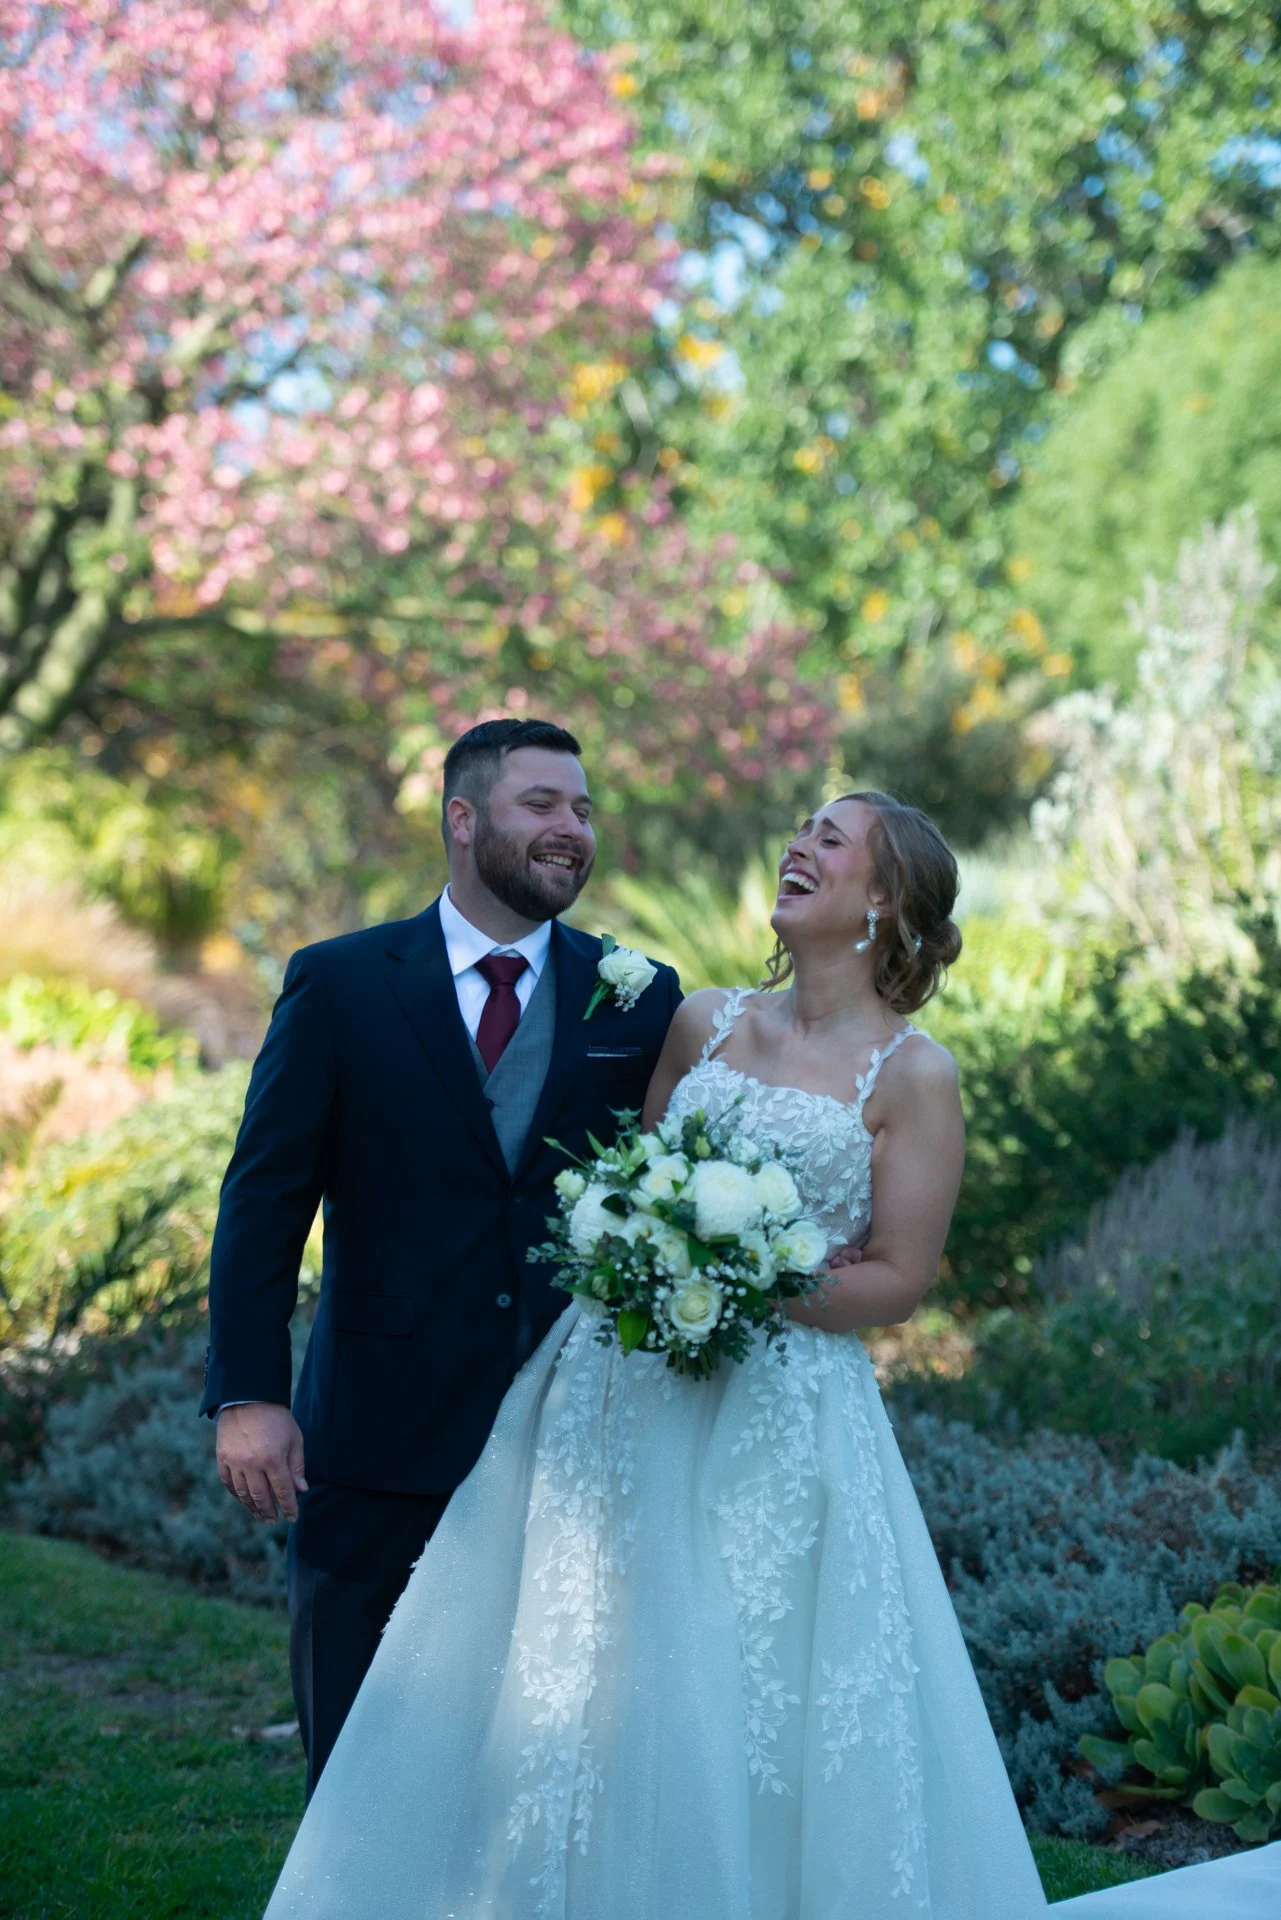
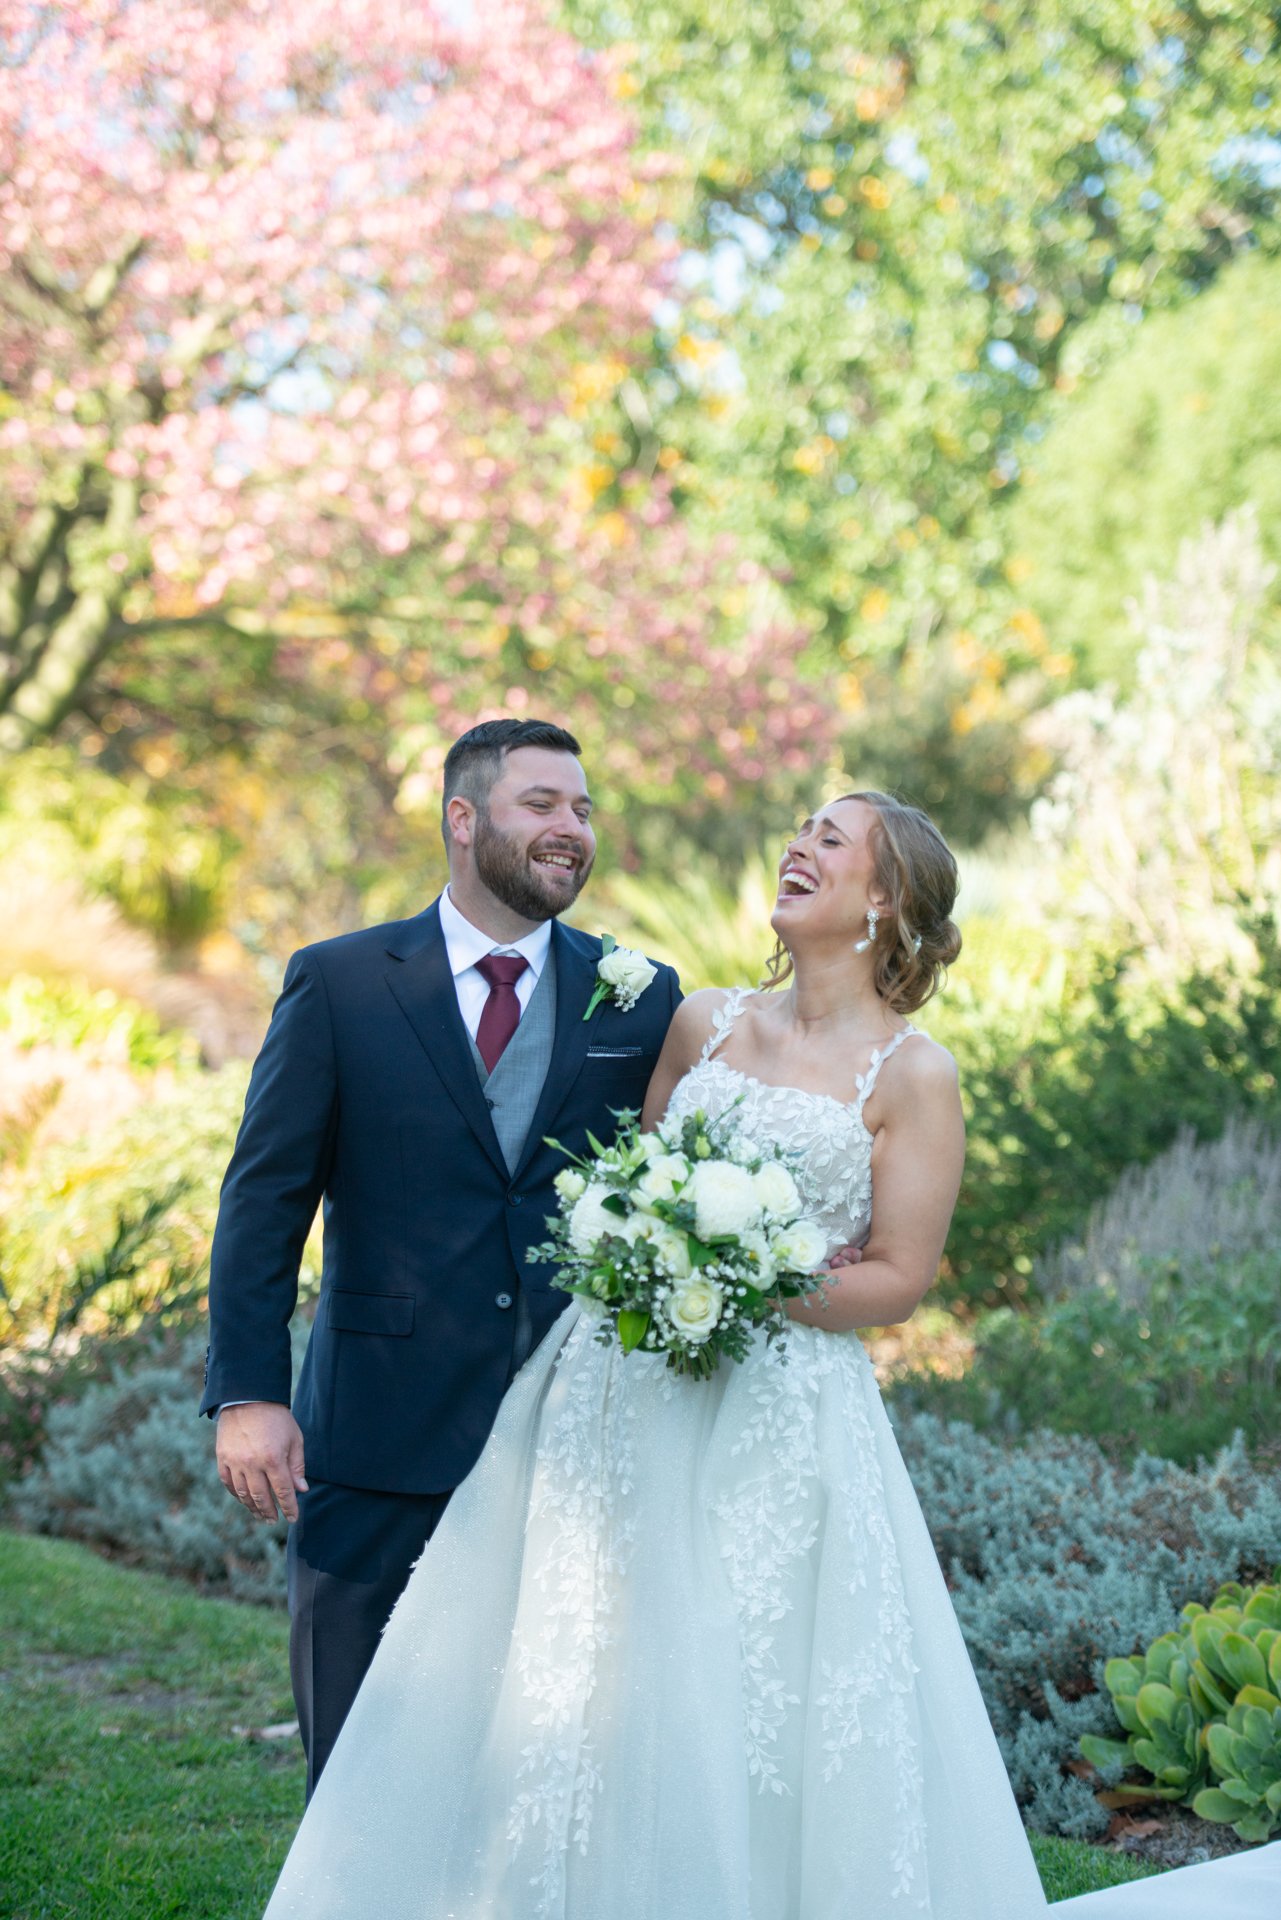
This last image (shot in the gooorgeous Royal Botanic Gardens in Melbourne) is similar to the first image, however it’s in the middle of the day, so it was even more important the bride and groom were in the shade so the light on them was even to start with!
This edit was about balancing the subjects, the shade they’re in behind them and then the trees at the back in full sun, especially that stunning pink tree!
I lightened the exposure of the overall image, and then brought the shadows of the bride, groom and front shady shrubs even more, making sure not to overexpose the sunny trees at the back! I also added warmth, and made sure they aren’t too pink or too green, as is common in shade/sun photos.
Hope this was helpful and you learned something about post production! As always, drop a comment with your biggest takeaway, and let me know if you’d like me to cover anything specific in further blogs!